– In-ground trampolines offer safer jump height, seamless landscaping, and less visual clutter than models; installation needs precision.
– Prep by gathering tools (cross-head screwdriver, gloves, shovel, level), calling 811, and selecting a level, well-drained site with clearance.
– Assemble frame with AkroCLICK® screw-free snap system, then install jumping mat/springs from cardinal points to tension frame correctly.
– Attach PVC retaining wall panels, then mark and dig a pit with 10-inch ledge and inner bowl 2.5–3.9 feet deep.
– Lay weed barrier, lower frame into pit, check level, backfill with compacted soil; include drainage (gravel, French drain, sump) if needed.
– Finish by attaching frame pads with elastic toggles and safety loops; maintain drainage annually and after storms.
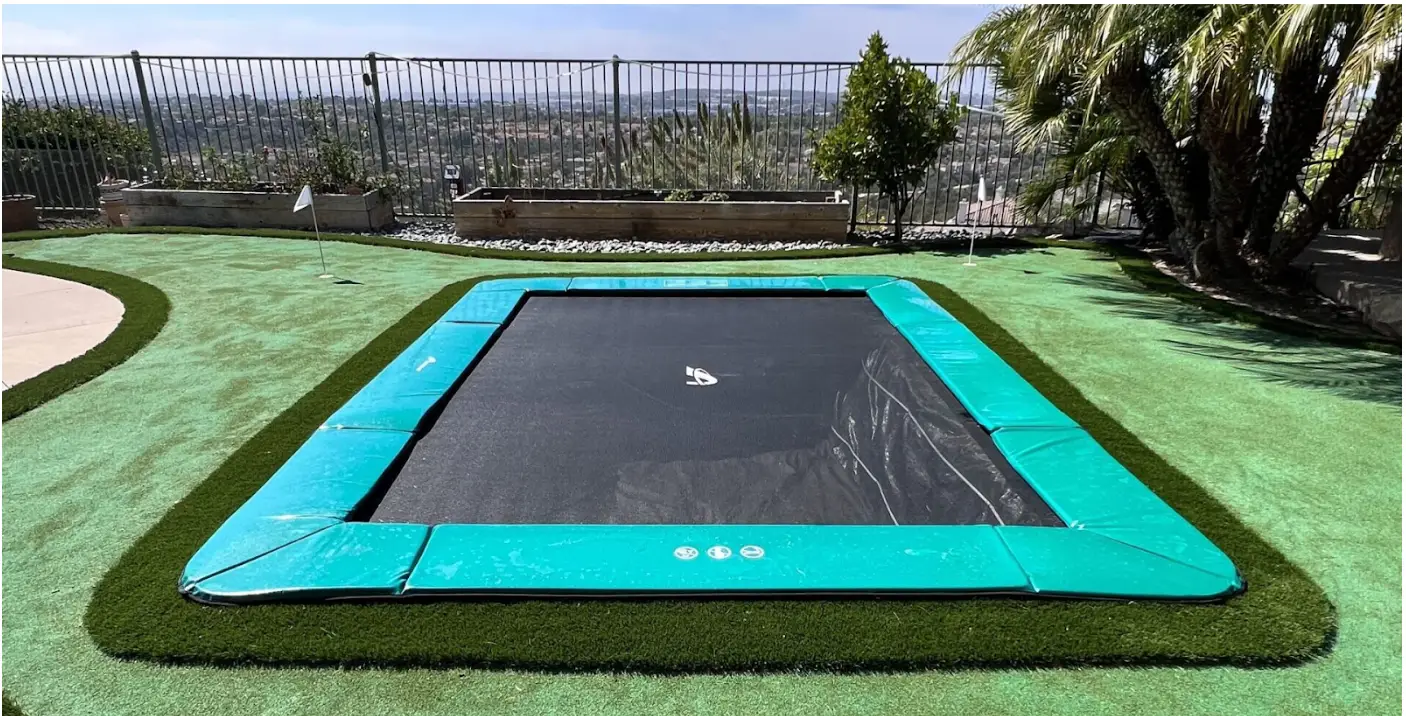
How to Install an In-Ground Trampoline (Step-by-Step Guide)
AI overview
If you’re thinking about adding an in-ground trampoline to your backyard, you’re not alone—and you’re in the right place. More families, athletes, and design-conscious homeowners are making the switch from bulky above-ground models to sleek, safer in-ground trampolines. But here’s the thing: while the payoff is huge, the installation process requires precision, planning, and the right tools.
As someone who literally jumps on our trampolines every day, I can tell you firsthand—getting the install right makes all the difference. Whether you’re looking for a safer way for your kids to bounce, a clean look that doesn’t clutter your lawn, or a trampoline tough enough for real athletic training, installation is where it all begins.
In this guide,we will walk you through how to install an in-ground trampoline—from picking the best spot to placing the final frame pad. Along the way,we will also answer the most common questions we hear and show you why Akrobat trampolines make this entire process smoother, safer, and smarter.
What You’ll Need Before You Begin
Before you break ground, or even open the box, it’s important to prep like a pro. Installing an in-ground trampoline isn’t overly complicated, but it does require a few basic tools and some upfront planning to get it right.
Here’s what you’ll need on hand:
✅ Essential Tools & Materials:
Pro Tip from the AkrobatUSA Team
Every Akrobat in-ground trampoline comes with everything you need to get started—including PVC retaining wall panels, weed cloth fabric, elastic toggles, spring hooks, and full installation instructions. Thanks to our AkroCLICK® system, there’s no need for drills, screws, or guesswork Parts snap into place with a satisfying click, making the entire assembly safer and more foolproof—even if this is your first time tackling a project like this.
If you’re the kind of person who wants to get it done right the first time, you’ll appreciate how intuitive the build process becomes when every piece has been engineered to fit comfortably.
Planning the Perfect Spot
Before you even pick up a shovel, let’s talk location. Picking the right spot for your in-ground trampoline isn’t just about convenience—it’s about safety, longevity, and performance.
📐 Step-by-Step Guide to In-Ground Trampoline Installation
With your tools ready and your installation site prepared, it’s time to bring your trampoline to life. Every Akrobat trampoline is engineered for ease of assembly—whether you’re a first-time DIYer or a seasoned contractor. And thanks to the AkroCLICK® system, there’s no need for screws, drills, or second-guessing.
Let’s start with the foundation:
Step 1 – Assemble the Frame
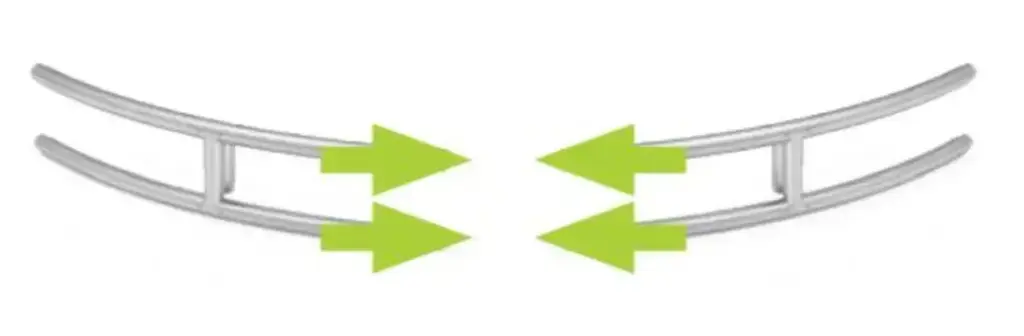
Start by unpacking the frame sections and laying them out on level ground. Make sure the spring holes are facing up—this is crucial for proper spring installation later.
You’ll notice that the frame connects using our proprietary AkroCLICK® system—a screw-free, snap-together mechanism that guarantees perfect alignment and a secure fit. Simply slide the ends of each frame piece together until they lock into place with a satisfying click.
🔧 No tools needed . No wobbly connections.
Here’s something that often catches people off guard.
The long sides of rectangular trampolines will bow slightly outward once assembled. That’s intentional. As you attach the springs and mat in the next step, the tension will naturally pull the frame into its final form.
💡 Pro Tip: As you work, double-check that every section is securely locked. A properly assembled frame is the backbone of your trampoline’s performance and longevity.
Step 2 – Install the Jumping Mat & Springs

With your frame fully assembled and locked into place, it’s time to install the jumping mat—the centerpiece of the trampoline experience. And trust me, if you’ve chosen an AkrobatUSA trampoline, you’re about to feel the difference that 62.7% softer bounce absorption makes, thanks to our AkroVENT® jump mat technology.
Here’s how to do it right:
🔄 Step-by-Step:
- Lay the Jumping Mat Inside the Frame: Make sure the logo is facing up. The mat should rest loosely inside the frame for now.
- Start with the Four Cardinal Points: Attach your first springs at the 12, 3, 6, and 9 o’clock positions. These points will anchor the mat evenly and make it much easier to install the rest of the springs.
- Add Springs in Intervals: After anchoring the cardinal points, install springs at every eighth spring hole around the frame. Then go back around and add one in every fourth hole, and finally fill in the remaining gaps.
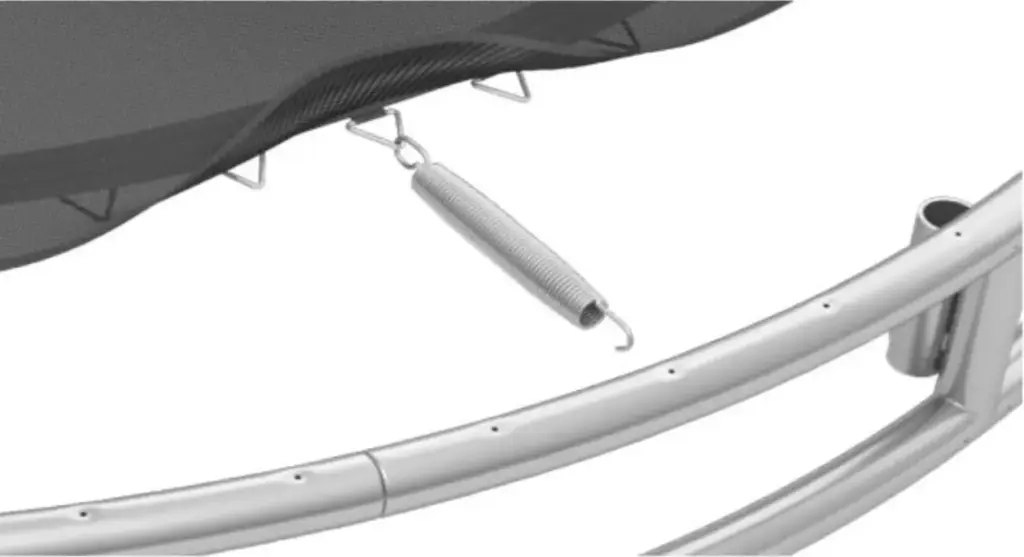
⚠️ Important: Make sure each spring hook is securely fastened to both the frame and the corresponding ring on the jump mat. A misaligned or loose spring can compromise bounce quality—and more importantly, safety.
It may look like the mat is slightly too small at first. That’s completely normal. The mat is designed to stretch as spring tension increases. As you work around the frame, you’ll see the mat tighten and the frame draw inward into its intended shape.
And once it’s in place?
You’ll have a bounce that’s soft on joints, ultra-responsive, and amazingly quiet—no squeaks, no flapping, no noise. Just smooth airtime, engineered for athletes and loved by kids alike.
Step 3 – Attach PVC Retaining Wall Panels

Once your frame and jumping mat are securely in place, the next critical step is attaching the PVC retaining wall panels. These panels are more than just a finishing touch—they’re a built-in engineering solution that keeps your trampoline pit stable and secure for the long haul.
🛡 Why This Step Matters
When you dig a trampoline pit, you’re changing the structure of your yard. Without reinforcement, dirt walls can shift, settle, or even collapse over time—especially after rain or heavy use. That’s why Akrobat includes custom-fit PVC wall panels with every in-ground model.
These panels:
How to Install
- Grab a Pair of Gloves: The panels are pre-drilled and safe to handle, but gloves help protect your hands during installation—especially around tight corners.
- Align Panel with Frame Holes: Each panel lines up with pre-cut holes on the trampoline frame.
- Insert and Tighten Screws: Using a cross-head screwdriver, secure the panel tightly to the frame with the included bolts. Repeat this process around the entire frame until all panels are securely fastened.
💡 Pro Tip: Don’t overtighten—firm and flush is the goal. Once installed, your panels will create a solid wall between the trampoline and surrounding soil, preventing debris from falling into the pit and reinforcing the outer edge of the structure.
Step 4 – Mark and Dig the Trampoline Pit

With your frame assembled and wall panels attached, it’s time to tackle the most physical part of the install. Digging the trampoline pit. Don’t worry, I’ll guide you through it, step by step. Whether you’re doing it by hand or using a mini excavator, this part sets the stage for a safe, flush, high-performance installation.
📏 Step-by-Step Digging Guide
- Mark Your Outline: Place the assembled frame on your chosen spot and mark the outer edge with chalk spray or landscaping paint. This ensures your pit dimensions match the trampoline frame perfectly.
- Dig the Outer Ledge (Support Shelf) Start by digging a shallow ledge around the perimeter. This ledge should be:
- Dig the Inner Bowl (Jump Space) Inside the ledge, continue digging downward to create a bowl-shaped pit.
- Save That Soil: As you dig, set the soil aside. You’ll use it later for backfilling around the frame and leveling the surrounding ground.
Trampoline Sizes

Do I Need a Retaining Wall?
No—if you’re using an Akrobat trampoline.
Our trampolines come with custom PVC retaining panels that act as built-in walls for the pit. These panels prevent soil collapse and reinforce the structural integrity of your install—no concrete blocks, bricks, or separate wall kits required.
That’s one of the reasons contractors love working with our systems—and why DIY homeowners can feel confident tackling this install themselves.
Step 5 – Add Weed Barrier & Place Frame in Pit

Once your pit is fully dug and your support ledge is defined, the next step is to prepare the ground for a clean, long-lasting installation. This means adding a weed barrier and carefully placing the trampoline frame into its final position.
🌱 Lay the Weed Membrane
Before the frame goes into the hole, you’ll want to install a weed barrier membrane. All Akrobat in- ground trampolines include this import part. This step is often overlooked—but trust me, you don’t want to skip it. Over time, grass and weeds can creep into the pit from the sides and base, especially if you live in a warm or humid climate.
Here’s how to do it right:
💡 Pro Insight: A properly installed membrane also prevents soil erosion inside the pit and helps preserve airflow beneath the jump mat for better bounce performance.
Lower the Trampoline Frame into the Pit
Now, it’s time for the big moment—placing the assembled trampoline frame into the pit.
You’ll want at least two people for this step—three if your trampoline is 14 feet or larger. The frame is heavy-duty (which is what gives it its strength), but manageable with a little teamwork.
🧤 Use gloves when adjusting the frame—those precision-built metal edges can be unforgiving on bare hands.
Step 6 – Check Leveling and Backfill
Now that your trampoline frame is in the pit and resting on the support ledge, it’s time to dial in the finishing details, starting with leveling and backfilling. This step is crucial for both safety and aesthetics.
🔍 Use a Level to Confirm Placement
Before adding any soil back into the pit, take a few minutes to make sure your trampoline is perfectly level. Use a carpenter’s level or a laser level across several points of the frame. You want the jumping mat to sit completely flush with the surrounding lawn—no dips, tilts, or uneven sides.
⚖️ Why It Matters: A level trampoline isn’t just about looks. Uneven installations can affect bounce quality, shift weight toward one side, and increase the risk of injury during use.
If you find the frame is slightly off:
🪣 Backfill with Saved Soil
Once you’re confident in your leveling, grab the soil you set aside during digging and begin backfilling around the outside edge of the trampoline.
💡 Pro Tip: As you backfill, stop periodically to double-check that the trampoline hasn’t shifted out of level. It’s easier to make corrections now than after everything is filled in.
When done correctly, your trampoline should look like a seamless extension of your backyard—flush to the ground, solid as a rock, and ready for action.
Step 7 – Attach Frame Pads (Elastic Toggles)

The jump mat may be the star of the show, but the frame pad is your trampoline’s first line of defense when it comes to safety. These thick, durable pads cover the springs and frame edge, helping protect jumpers from accidental impact.
Here’s how to install them the right way:
- Align Pad Sections with Frame Joints: Lay the safety pad on top of the trampoline, making sure the seams of the pad match up with the joints in the frame.
- Insert Elastic Toggles Through Eyelets: You’ll find small eyelets sewn into the underside of the pad. Thread the elastic toggles through each eyelet, keeping the loop end facing outwards and the toggle end on the inside.
- Secure Using the Twist Method: Flip the pad over the edge of the frame. Pull the elastic band underneath and insert the toggle into the loop. Then twist the toggle inward to lock it in place.
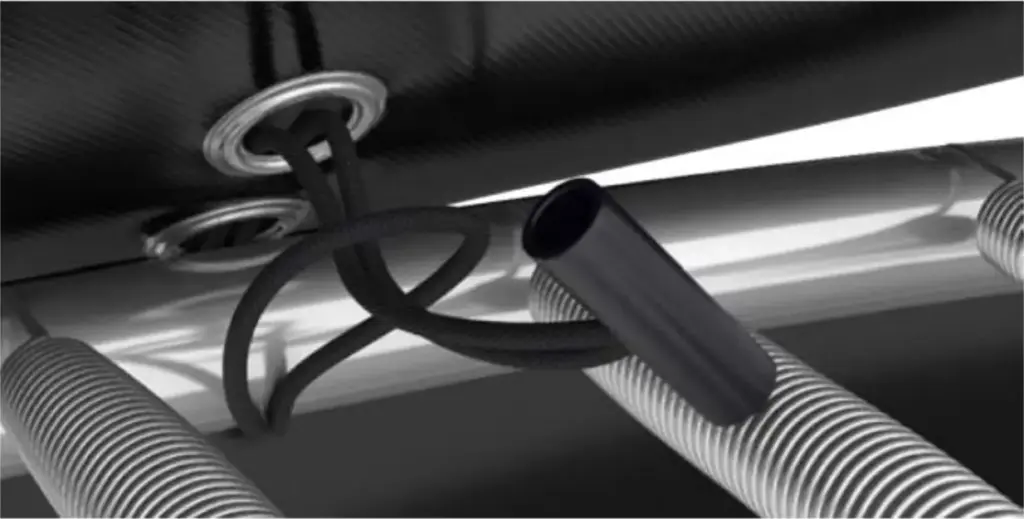
🛠 Tip from the field: If the fit feels tight, use a flathead screwdriver to gently wedge space between the frame and the PVC panel, making toggle installation a breeze.
Once attached, the pad will sit snug and flush against the frame—no shifting, no sliding, and definitely no loose ends.
🔁 Step 8 – Secure Springs with Safety Loops

To finish the job—and prevent pad lift during high-energy bouncing—you’ll want to secure the spring safety loops built into the pad.
Here’s the process:
- Locate a Spring Under Each Pad Seam: Wherever two pad sections meet, you’ll find a stitched-in loop underneath.
- Remove a Single Spring Under That Loop: Unhook the spring, slip it through the loop, and then reattach it to the frame.
- Repeat Around the Trampoline: Do this for each loop location until the pad is fully secured across all seams.
🔒 Why This Matters: These safety loops prevent the front edge of the pads from lifting or flapping during use. It keeps the pad stable—especially important for larger trampolines and higher bounces.
Don’t Skip This: Drainage & Pit Safety
Drainage isn’t optional.
A well-built trampoline pit that collects water becomes a maintenance headache, a potential safety hazard, and over time, a threat to the structural integrity of your trampoline. Moisture can degrade materials, attract pests, and undermine the trampoline’s bounce performance.
Let’s make sure that never happens to you.
Full Resource -> In-Ground Trampoline Drainage Guide
💧 Step 1: Ensure the Pit Doesn’t Hold Water
When digging your pit, monitor the soil conditions. If your yard has heavy clay or poor natural drainage, water can pool beneath the jump mat. That creates suction, mold, or worse—long-term damage to the jump mat and spring system.
🛠 AkrobatUSA trampolines are built to handle outdoor conditions, but no trampoline is made to sit in standing water.
🌀 Step 2: Install a Drainage System (If Needed)
If you’re in a wetter region or have a high water table, install one of the following:
💡 Pro Tip: When installing a weed barrier with drainage inlets or sump pump, cut a small opening at the center to allow water to drain through your gravel or pipe system if needed.
🧼 Step 3: Maintain It Annually
Good drainage today won’t stay that way forever unless you check in. Here’s what I recommend to every customer:
🪜 Why Homeowners Are Choosing Akrobat In-Ground Trampolines
Let’s talk about why the in-ground trend is exploding—and why it might be the smartest upgrade you’ll make to your outdoor space.
✅ 1. Safer Jump Height for Kids & Pets
In-ground trampolines sit flush with your lawn, meaning no ladders to climb, no awkward landings, and a drastically reduced fall height. That’s huge for parents (like me) who care about minimizing risk while still letting kids go all-out.
✅ 2. Seamless Look for Modern Landscapes
These trampolines blend into your yard like they were always meant to be there. If you’ve invested in landscaping, turf, or hardscaping, an in-ground setup keeps your clean lines and open views intact. No more towering metal frames breaking up the backyard flow.
✅ 3. Less Visual Clutter vs. Above-Ground Models
Let’s face it—above-ground trampolines are functional, but they dominate the space. An in-ground trampoline offers all the fun without the eyesore, and that’s a game-changer for families who use their yards for entertaining or relaxing.
✅ 4. “We Became the Most Popular House on the Block!”
One parent told us that after their install, the neighborhood kids flocked to their yard. I’ve heard this more times than I can count. The reality is, when you install an in-ground trampoline, you don’t just create a play space—you create a magnet for fun, connection, and unforgettable memories.
The Right Trampoline Deserves the Right Installation
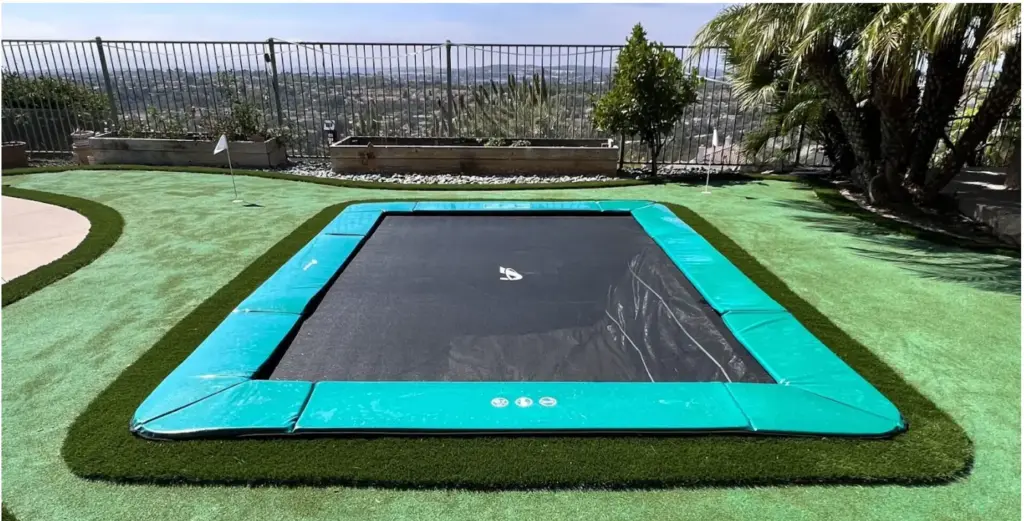
Installing an in-ground trampoline is an investment in safety, design, and how your family spends time together. When done right, it transforms your backyard into a space for connection, movement, and joy.
With AkrobatUSA, you get a trampoline and the peace of mind that comes from knowing it’s been built to last.
From our tool-free AkroCLICK® frame assembly to our PVC retaining walls and premium AkroVENT® jump mat, every component has been engineered to make your install smoother and your bounce better. Whether you’re a parent prioritizing safety, an athlete looking for serious performance, or a homeowner who cares about quality and aesthetics—you’re in good hands.
Because we don’t do shortcuts. We don’t do “good enough.” We do it right—or we don’t do it at all.
👉 Ready to transform your yard?
Visit: https://staging.akrobatusa.com/diy-install-a-trampoline/ and download your full installation guide today. Let’s build something amazing together.
Akrobat Products
Start creating a lifetime of memories with your very own Akrobat in-ground trampoline kit! We focus on safety, quality, and performance.
View All Categories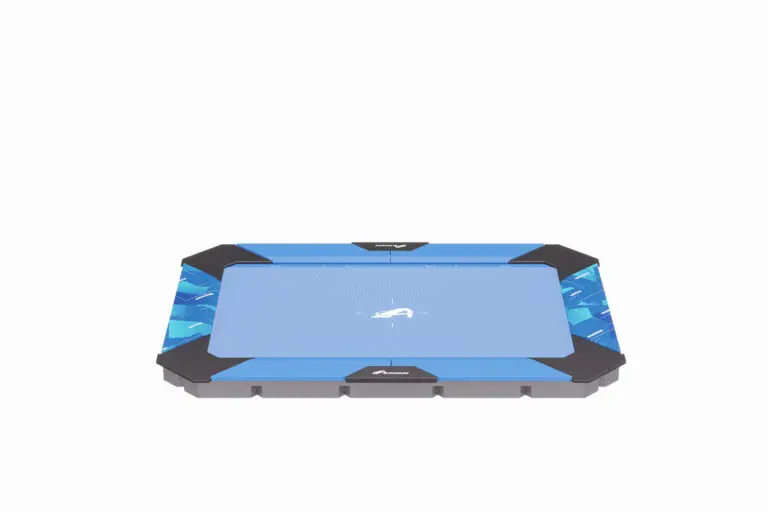
Rectangular In-Ground Trampolines
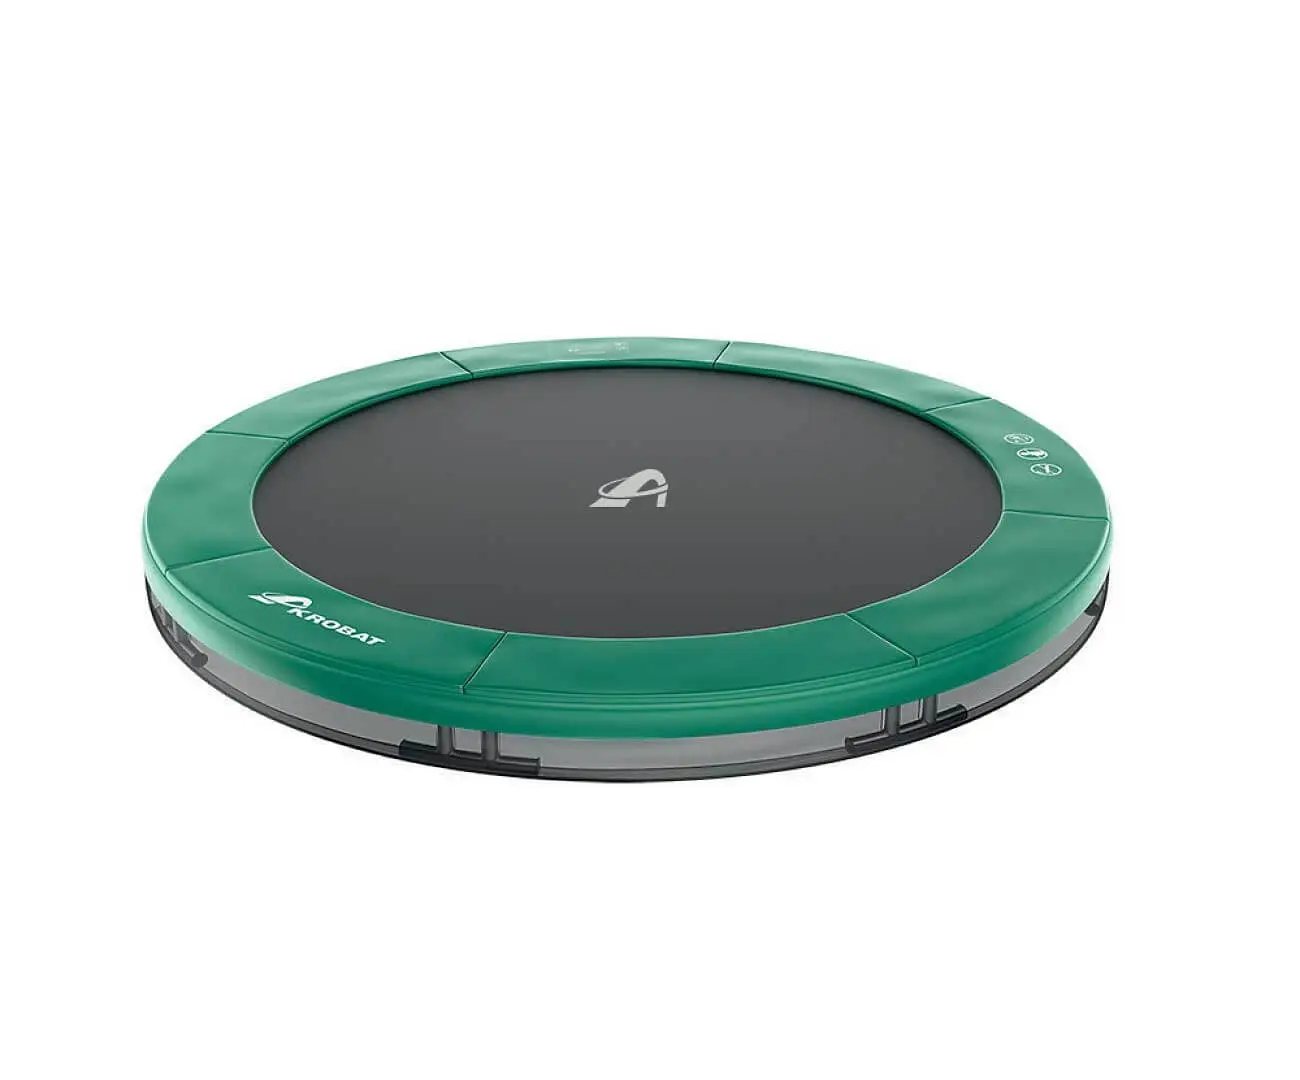
Round In-Ground Trampolines
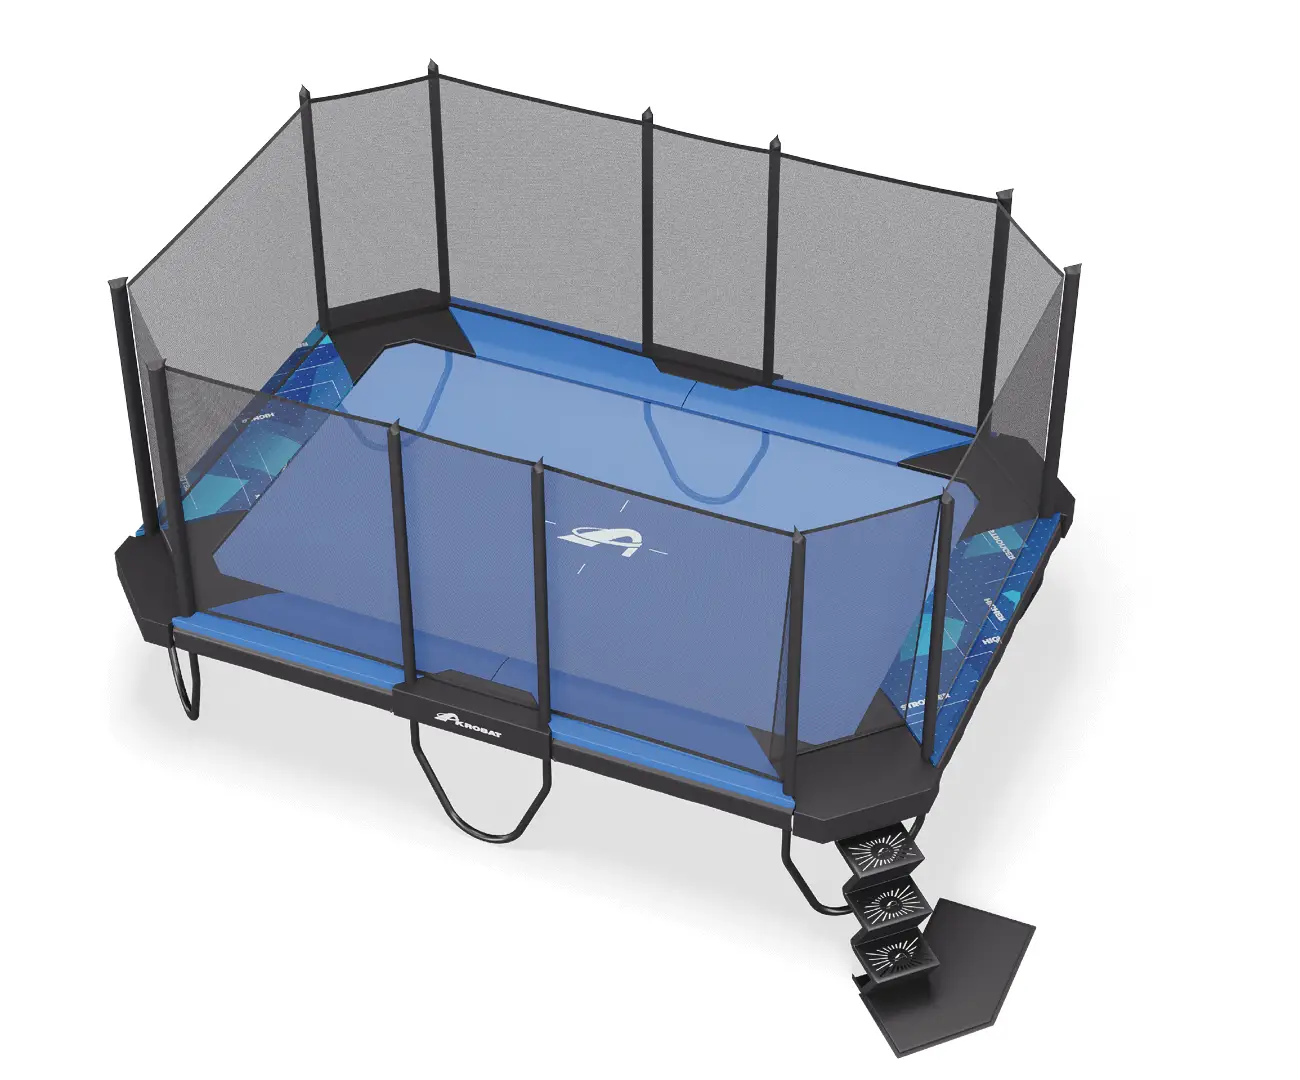
Above Ground Trampolines
Trampoline Accessories