For trampoline assembly, use a spring puller, gloves, a rubber mallet, a level, and anchors. These tools prevent pinched fingers, frame wobble, and extra repairs. AkrobatUSA’s tool-free frame design makes setup faster and easier for both above-ground and in-ground trampolines.
These simple tools help you avoid pinched fingers, wobbly frames, and costly mistakes, no matter if you’re putting up an above-ground trampoline or digging an in-ground pit.
When you choose an Akrobat trampoline through AkrobatUSA, you’ll find we’ve made this process even smoother. Our AkroCLICK® tool-free design means you can skip most screws and wrenches altogether.
Combined with our heavy-duty frames, premium European materials, and helpful install videos, we make setup more straightforward than any generic backyard kit ever could.
You’ve got the answer upfront, but if you’re the kind of owner who wants to get every jump right for years to come, keep reading. Below, I’ll share how to use each tool correctly, avoid the biggest pitfalls, and tap into the unique assembly advantages only AkrobatUSA offers.
Why the Right Tools Matter for Trampoline Setup
When you’re working with an Akrobat trampoline, you’re already a step ahead. Our AkroCLICK® tool-free system clicks securely into place, so you don’t have to spend an afternoon with wrenches and stripped bolts.
Our heavier frames hold steady as you pull springs into place, no unexpected tipping or twisting while tension builds. Having a spring puller, gloves, a level, and a reliable anchor kit means you can build confidently.
The Tools You’ll Need (and Why)
Spring Puller
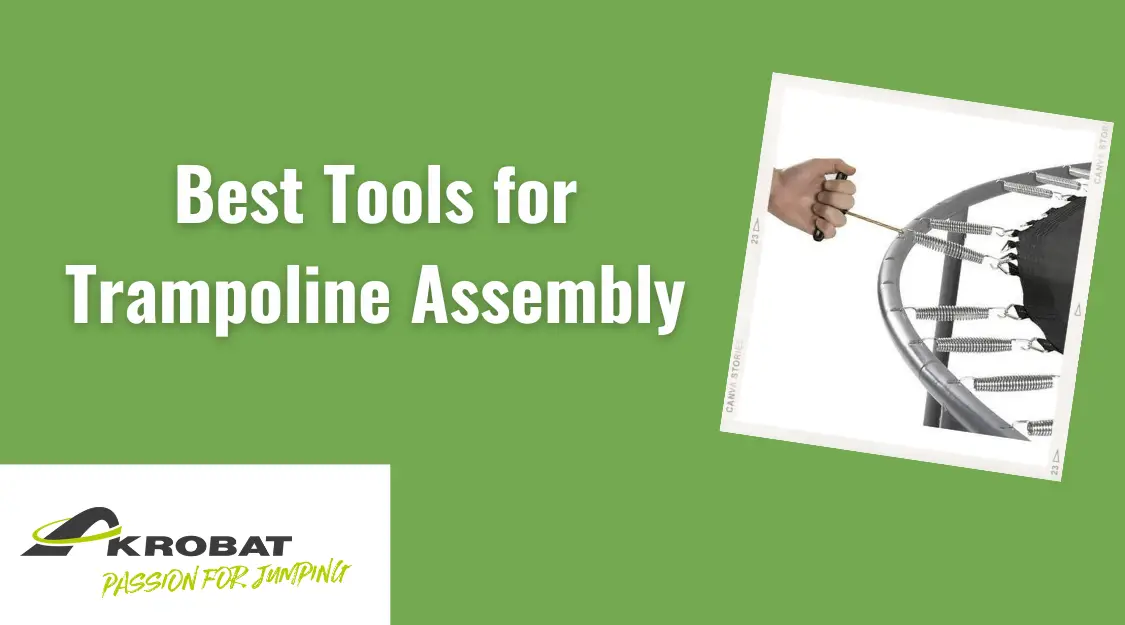
If you only get one specialty tool, make it a spring puller. Stretching trampoline springs by hand is asking for pinched skin and off-balance mat tension. A puller gives you the right leverage, and with Akrobat’s AkroVENT® jump mats, that stretch happens evenly, so each spring clicks in smoother. I always recommend the “clock method” here: attach springs at 12, 3, 6, and 9 o’clock first to balance tension, then work your way around. All Akrobat trampolines include this tool.
Answer to a common question: Do you really need a spring puller? If you value your fingers, yes.
Gloves: Small Tool, Big Protection
You might think gloves are optional until your hands are raw from metal edges and tight springs. I’ve lost count of the number of folks who wish they’d grabbed sturdy work gloves before pulling springs or pressing frame tubes into place. You’ll want these later, too. The same gloves protect your hands during seasonal checks when you re-tension bolts or replace a pad.
Rubber Mallet: For a Perfect Fit
A regular hammer can dent your trampoline’s frame tubing. A rubber mallet provides a gentle yet firm tap, allowing you to click stubborn pieces together without scratching or bending the metal. It’s just the right touch for seating curved tubes snugly or nudging PVC panels into position on an in-ground kit. If you ever wonder what size mallet to use, go with a medium-weight one that fits comfortably in your hand.
Level & Measuring Tape
Here’s a detail too many people skip: if your trampoline isn’t level, you’re setting yourself up for uneven bounce and unnecessary frame stress. Always use a level (or a string line) to check your surface. If you’re dealing with a yard that slopes, consider using leveling blocks instead of digging up half your backyard.
Unique Akrobat USA Insights That Save You Time
This is where Akrobat stands apart. Many brands sell generic backyard trampolines that force you to wrestle every bolt and tube. We design every part to make your life easier, from the first spring to the millionth jump.
With AkrobatUSA, you get equipment built by real jumpers who expect it to hold up under serious use. It’s why we stand behind every product we ship.
How to Assemble Your Trampoline Step-by-Step

Step 1: Check All Parts and Tools
Before you snap the first frame tube together, spread every piece out on a tarp. It’s the simplest way to spot any missing hardware before you get halfway through the job. Akrobat packs every trampoline kit carefully, but parts can be misplaced if you’re not organized.
If you’re wondering “What if I’m missing a part?”, don’t panic. Reach out to our U.S.-based support team. We stand by what we build, and you’ll never be left guessing.
Step 2: Build the Frame on Level Ground
Here’s where your mallet, level, and measuring tape work together. Start by assembling the ring or rectangular frame, tapping each connection until it’s fully seated. Akrobat’s tighter tolerance means parts click securely, but you’ll still want to double-check every joint; a loose connection today is a wobbly frame tomorrow.
A level surface matters more than most people realize. If you’re working on a slight slope, consider simple leveling blocks or minor ground prep. It’s the difference between an even, predictable bounce and an off-center landing.
Step 3: Install the Springs with a Partner
No part of the build creates more questions than the springs. “Do I really need a spring puller?” If you value your hands, yes. Hooking each spring by hand is a recipe for pinches and frustration.
Use the clock method: start in the corners and then at 12, 3, 6, and 9 o’clock. This balances tension so you’re not fighting a tight mat on one side. Keep your gloves on, they’ll save your knuckles. I also recommend having a partner for this step. Tension pulls can shift the frame slightly if you’re alone.
Step 4: Attach Safety Pads & Enclosure
Once your springs are in place, it’s time for the protective layers. Align the safety pad, secure toggles, and double-check that everything covers the springs fully. Small details here prevent kids’ feet from slipping through gaps. Make sure when installing pads you use the security loops to further secure the pads.
If you’re adding an enclosure net, Akrobat’s enclosures attach quickly and easily in just minutes (see video https://staging.akrobatusa.com/accessory-installation-videos/ )
Step 5: Test
Before anyone does flips, do a few test jumps yourself. Professional installers recommend this because it reveals if any springs aren’t fully seated or if the frame needs a final check. With Akrobat’s heavier-duty frames, you’ll feel the difference: no squeaks, no wobbles, just smooth bounce every time.
In-Ground Trampolines: Special Tools & Drainage
Common Assembly Questions Answered
When I talk to customers, I hear the same questions over and over, so let’s tackle them clearly here:
Top Worries And How to Avoid Them
When you’re investing time and money in a quality trampoline, it’s natural to have a few concerns. I’ve seen these same worries come up over and over, but the right tools and a few best practices make each one easy to handle.
Tools for Disassembly & Ongoing Care
Good assembly tools aren’t a one-time deal. Keep that spring puller, mallet, and gloves handy for routine care. Once a season, give your frame a once-over to make sure every connection is tight and every spring is secure. If you ever need to move or store your trampoline, those same tools make disassembly faster.
With an Akrobat, you won’t be fighting rusted bolts, our zinc-coated hardware and tight-fitting AkroCLICK® system mean parts stay in good shape. If a spring wears out (which is rare with our premium coils), you’ll replace it easily with the same puller you used on day one. (Akrobat springs are warrantied for 10 years)
Why Akrobat Makes Assembly Simpler
When we design trampolines, we think like real jumpers and real parents. We would never sell a product we wouldn’t trust in our own backyards. That’s why every Akrobat trampoline comes with build-friendly features other brands skip:
It’s this commitment to quality that turns a project you might dread into something straightforward and repeatable every season if needed. Assembly is just the beginning; a well-built trampoline gives you confidence.
Ready to Jump? Shop Akrobat USA
When you’re ready to put all this into practice, AkrobatUSA is here to make sure you get it right, from your first jump to your millionth.
If you want to skip the headaches that come with cheap frames, missing tools, or constant repairs, start here:
It’s the simplest way to get a great bounce, every time.
👉Shop AkrobatUSA and see how easy it is to get longer-lasting trampoline, one you’ll be proud to put your family on.